Roles Permissions
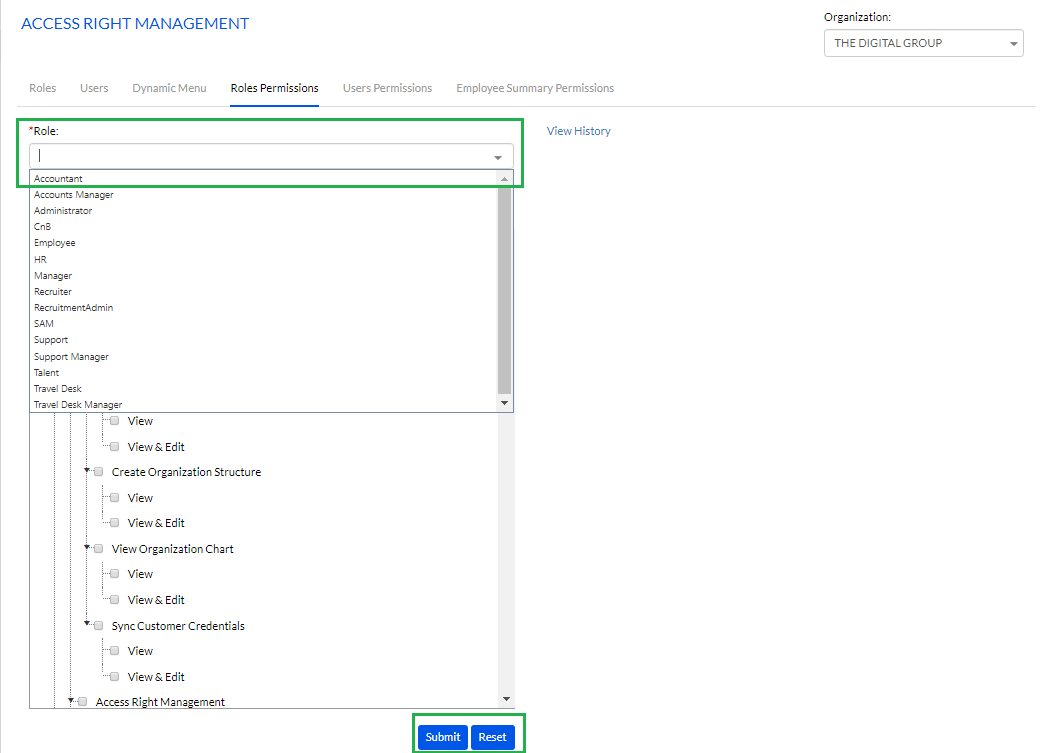
The Roles Permission tab allows the Admin to define the permissions for every role in the organization. The Admin can select a role from the Role drop down, as shown in the screenshot below.
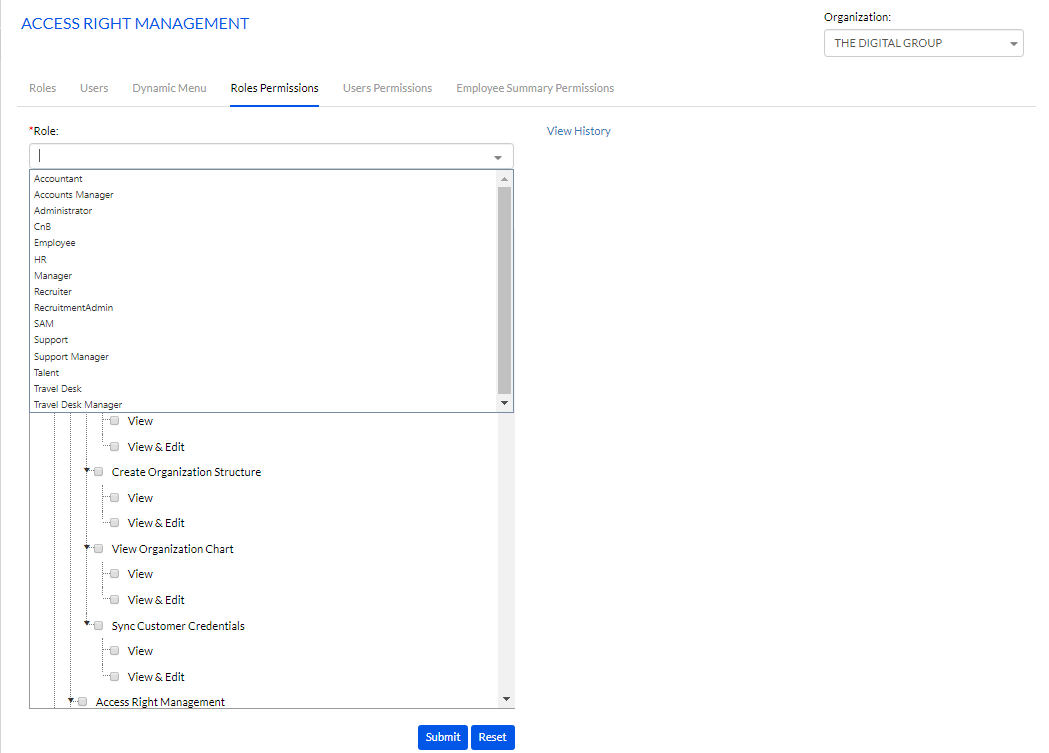
Once the Role is selected, then the Admin needs to check the pages/nodes for which the selected role can get access, under the Access to Pages menu, and then click on the Submit button. The Reset button can be used to reset the values entered.
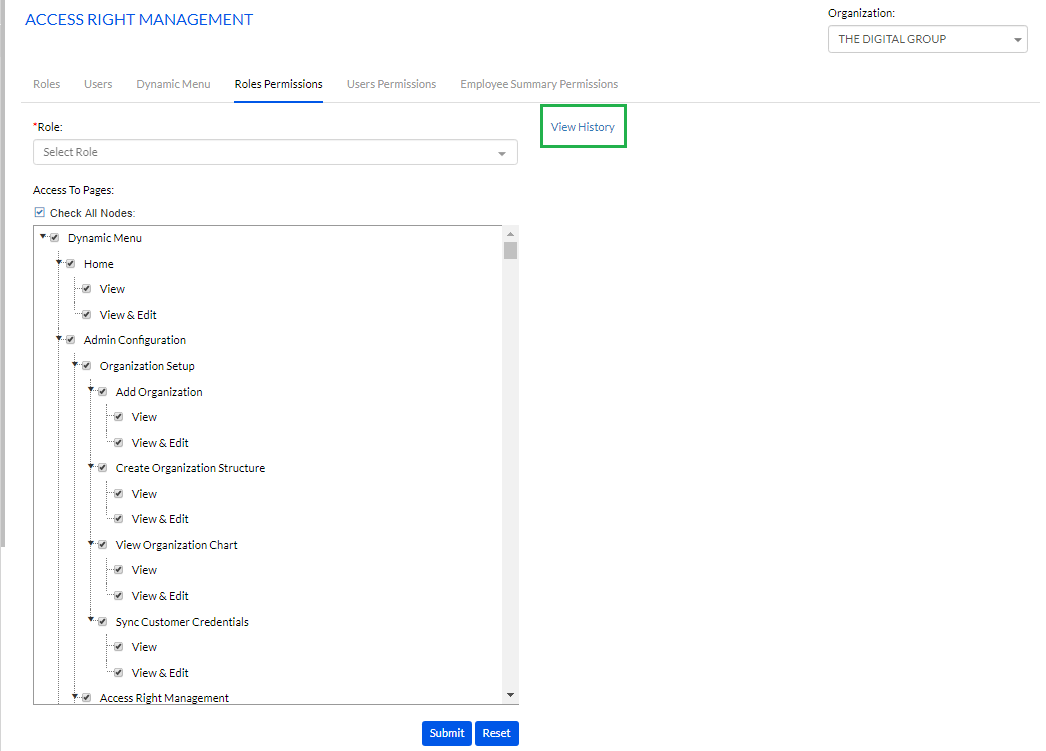
**Note: The Admin can also check all the Nodes by checking the Check all Nodes box.
The following are the default permissions for each role. These permissions are configurable.
- Administrator can have access to entire HRMS application including Setup & Configuration
- HR can have access to pages like Employee Creation, Employee Information, Leave & Attendance, Self-Assessment, Employee Separation, Reports and excluding Setup & Configuration
- Manager can have access to pages like Employee Information, Leave & Attendance, Self-Assessment, Employee Separation, Reports – Static Reports, (Only his/her team members)
- Employee has limited access to the pages of HRMS application like Employee Information, Leave & Attendance, Self-Assessment, Employee Separation and Reports – Static Reports (only his/her details)
**Note: One can create as number of roles as required by their organization and can provide permissions accordingly.
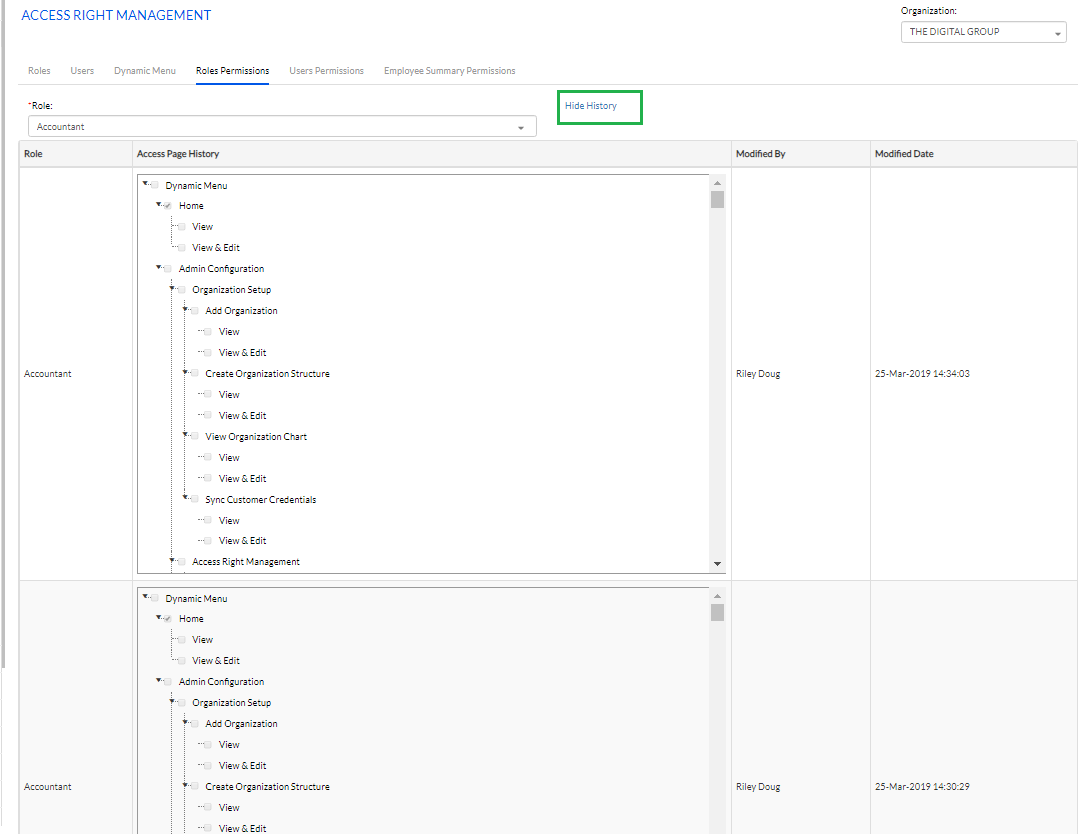
The Admin can also select a Role and click on the View History link to view the history of all the changes made in the Roles Permission for that particular role, as shown in the screenshot below.
Once the history details appear, the Admin can hide it by clicking on the Hide History link, as highlighted in the screenshot below.
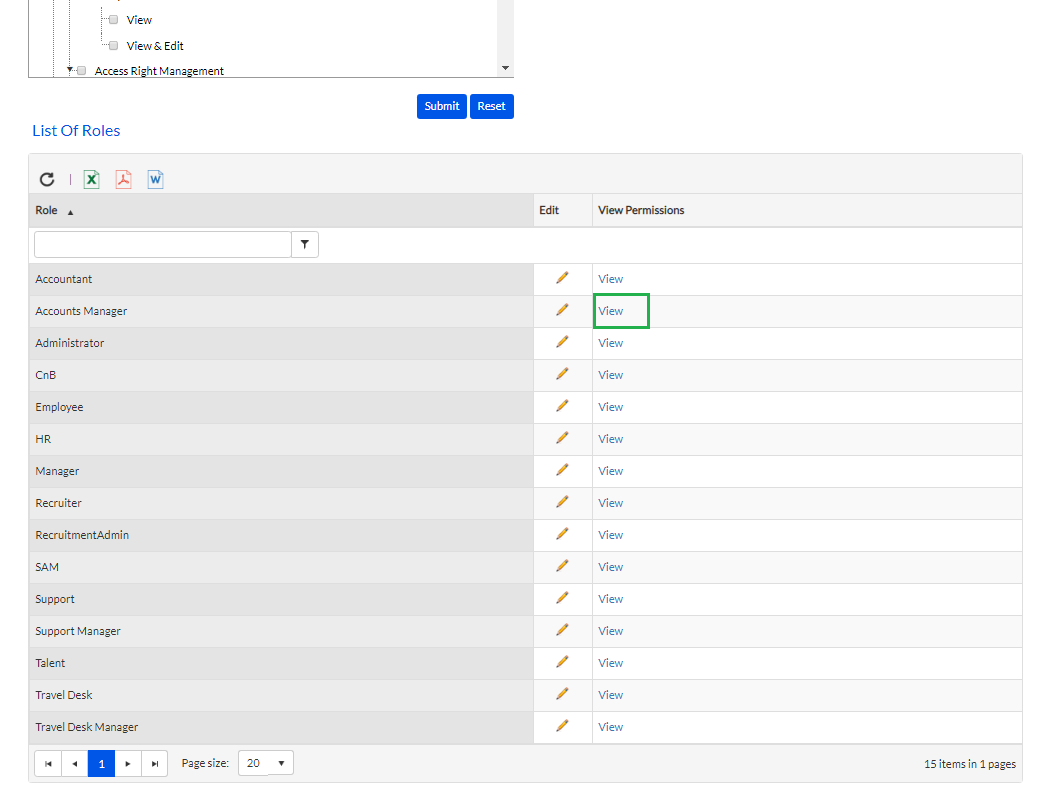
The permissions for each role can be viewed by clicking on View next to each role under the List of Roles section, as highlighted in the screenshot below.
Once the Admin clicks on View link, the details appear as shown below.
