Creating a Survey
There are two types of Surveys –
- Anonymous
- Confidential
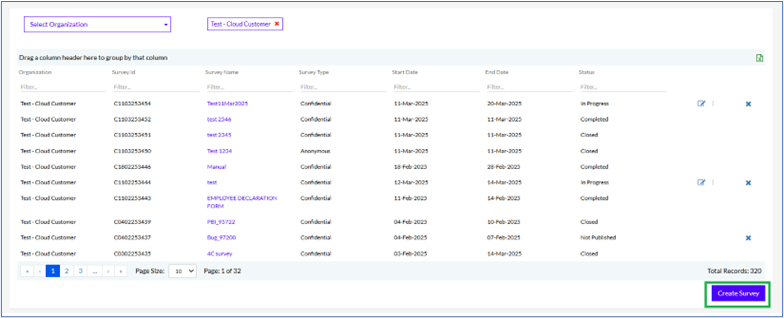
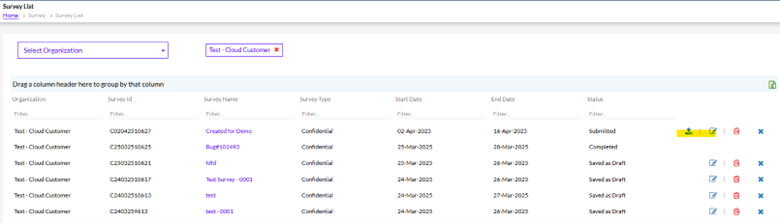
In order to create a survey, the user needs to click on the Create Survey button on the Survey List page, as highlighted in the screenshot below.
On this page, the Training Admin can create a survey for the employees of the organization.
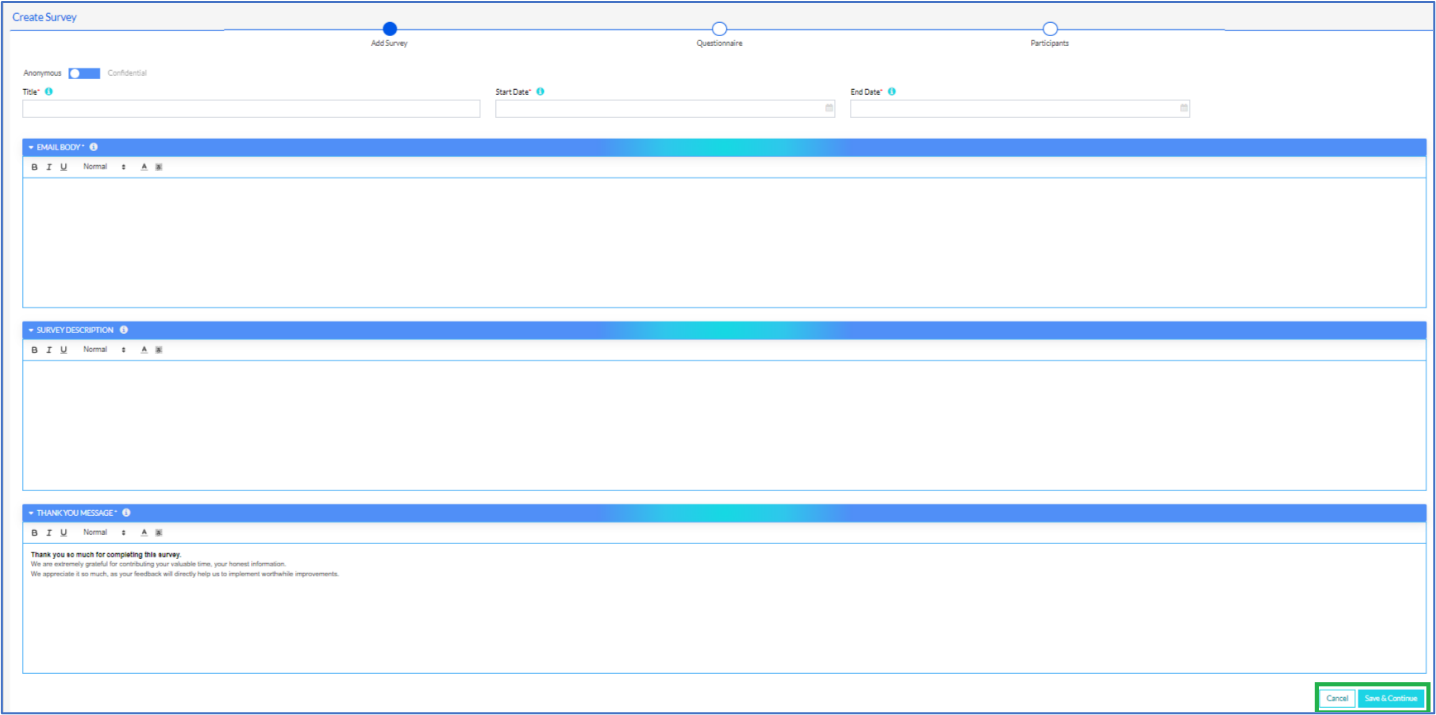
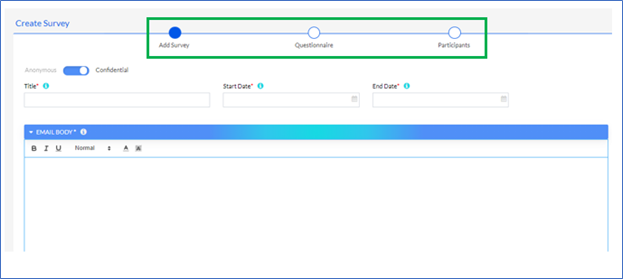
Once the user clicks on the Create Survey button, the screen appears as shown below.
This screen has 3 sections at the top, as highlighted in the screenshot below – Add Survey, Questionnaire and Participants.
Confidential Survey
Add Survey
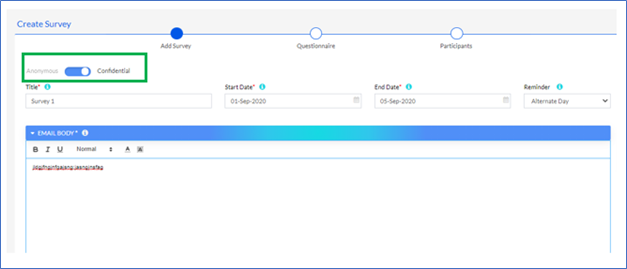
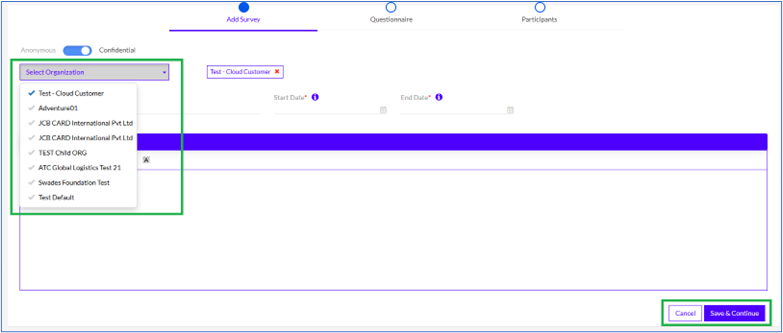
On this screen, the user needs to fill in the Title, Start Date, End Date of the Survey, Set Reminder if any along with the Email body content, as shown in the screenshot below. There is also the toggle button for choosing the Survey to be Anonymous or Confidential.
After filling in all the details like Title, Start Date, End Date and Reminder(optional), the user needs to write the email Body. Then the user clicks on the Save & Continue button to save the details or the Cancel button to cancel the data entered.
Once the user clicks on the Save & Continue button, the Questionnaire screen appears as shown below.
Questionnaire

There is an Check box “Add comment box for each questions” which if selected also can bee made either mandatory or Non-Mandatory.

Here the user needs to select the questions for the Survey questionnaire from the list of questions on the grid. Once the desired questions are selected, the user can click on the Save & Continue button as highlighted in the screenshot above to save the details or on the Cancel button to cancel the selections.
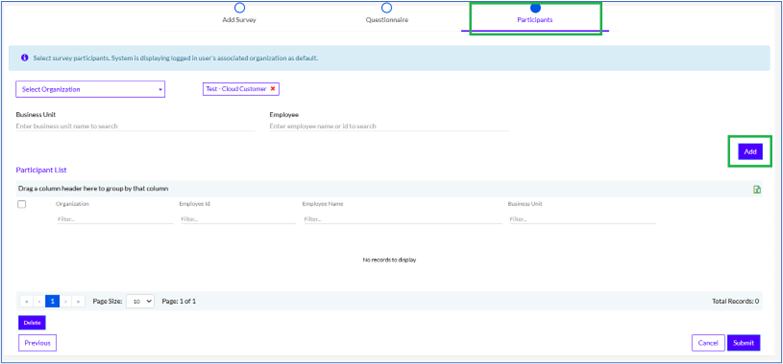
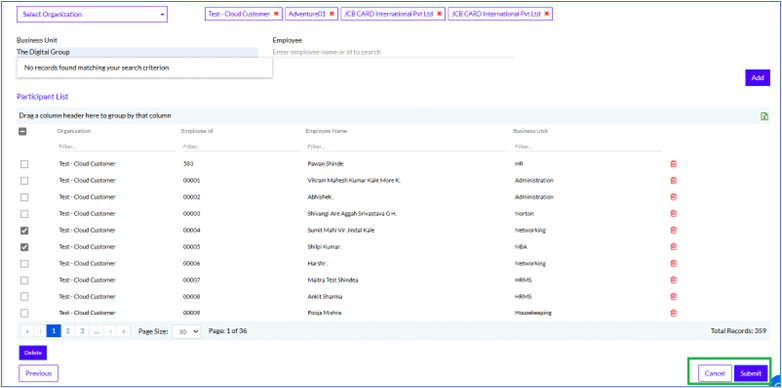
Participants
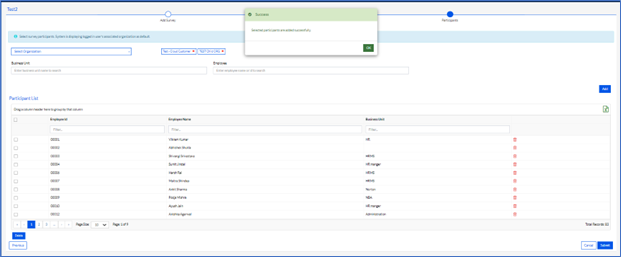
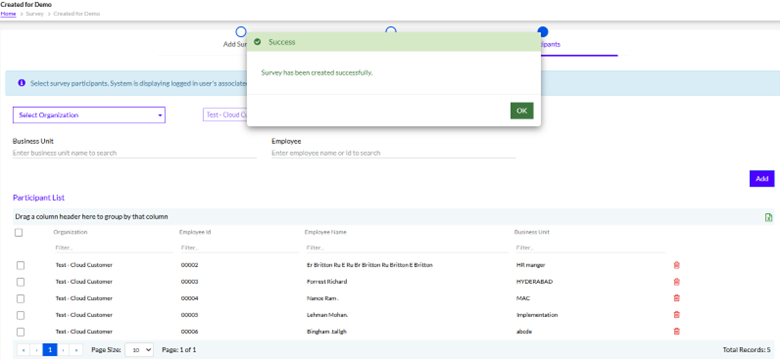
The success of adding the participants will be displayed in a pop-up as displayed in the above screen.
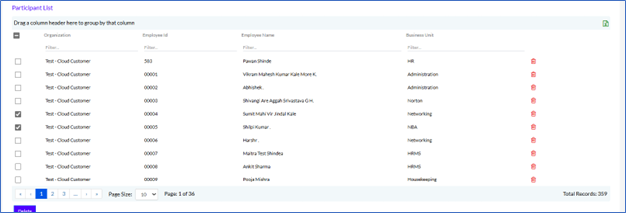
Once added, the participants appear in the grid below as shown in the above screen.
The user can extract the list of participants on the grid, on a MS Excel sheet, by clicking on the MS Excel icon, as highlighted in the screenshot below.
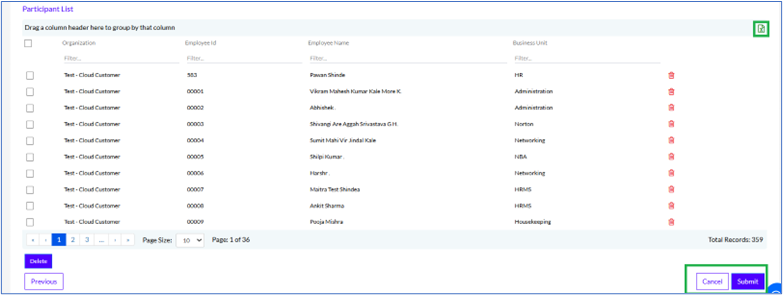
In order to delete an entry, the user needs to select the checkbox against that participant and then click on the Delete icon, as highlighted in the screenshot below. User also have option Delete button if he wants to delete all records clicking on Delete button.

Once the list of participants is finalized, the user needs to click on the Submit button to submit the survey details, as highlighted in the screenshot below.
Once the user clicks on the Submit button, a pop-up appears as shown below.
Once submitted successfully, the survey appears in the Survey List, as shown below.
Here the user can extract the list of participants on the grid, on a MS Excel sheet, by clicking on the MS Excel icon, as highlighted in the screenshot below.
Anonymous Survey
For Creating the Anonymous Survey here only difference is Email Body, Survey Description, Thank You Message these 3 tabs are displayed.
Survey Description is not mandatory and Thank You Message will be automatically displayed. Rest process is same as the Confidential Survey.