Asset Category
To add an Asset Category, the Admin/HR needs to follow the path given below.
Once the Admin clicks on the Asset Category tab, the following screen appears. It is displayed by
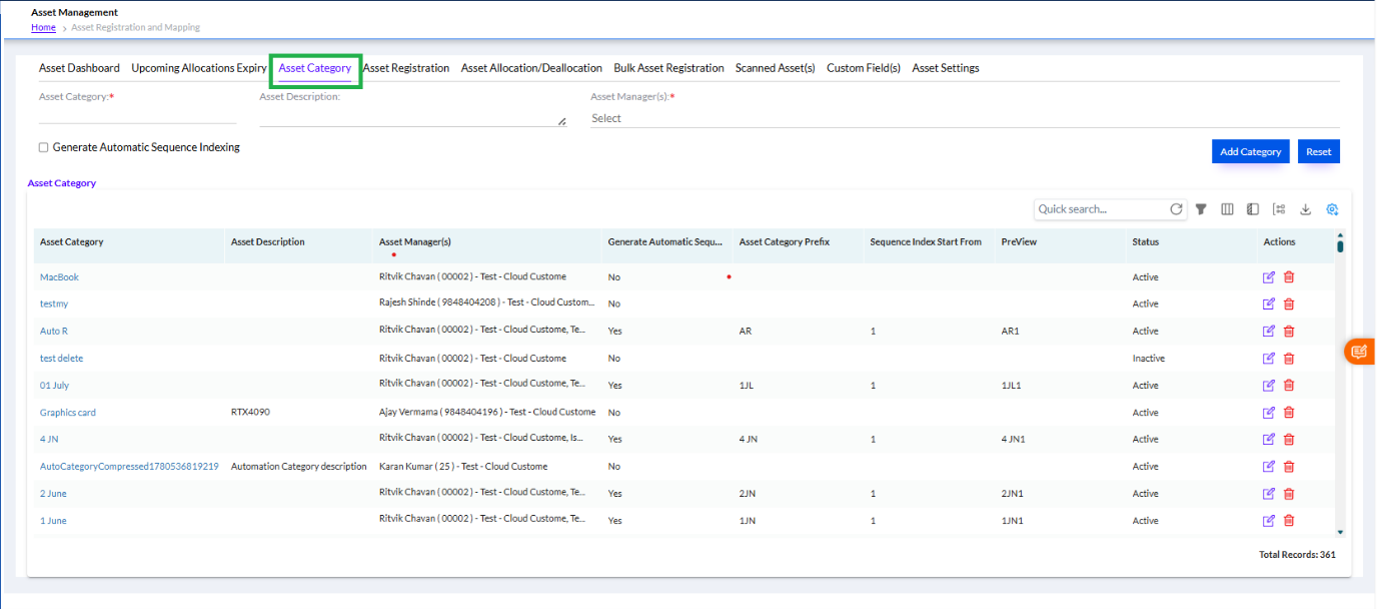
The Admin/HR needs to enter the name of the Asset Category to be added, enter an Asset Description (Optional) for the Asset Category, Select the Asset Manager from the dropdown and then click on the Add Category button.
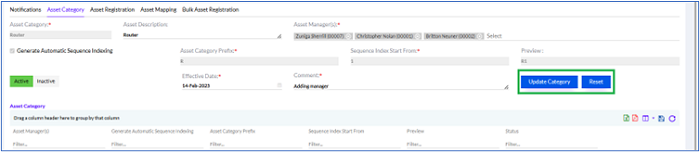
There is a checkbox, Generate Automatic Sequence Indexing, if it is checked the below box opens

Here, the Admin sets the Asset Category Prefix, and Sequence Index Start From. It can be previewed in the Preview box. If Admin sets the Asset Category, then in Asset Registration it appears.
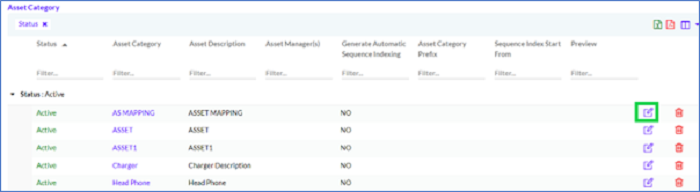
Once the Admin clicks on the Add Category button, the newly added Asset Category appears in the Asset Category grid.
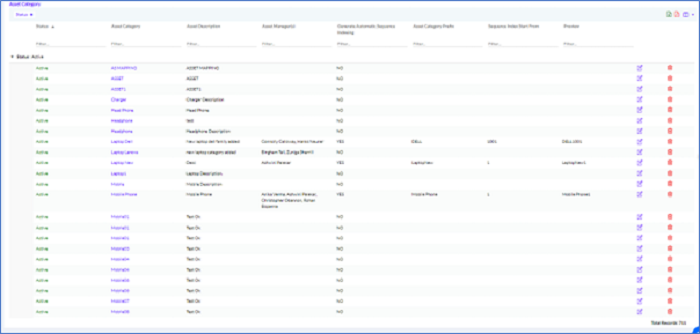
The data in the grid can be exported into a spreadsheet or PDF by clicking on the MS-Excel and PDF icons.
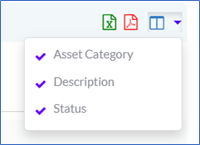
The number of columns visible on the grid can be modified by clicking on the Columns icon.
The data on the grid can be sorted on the basis of the columns. The Admin needs to drag any column to sort the data based on the parameter in that column. For example, the Status column can be dragged to sort the data with respect to the Status.
Once the Admin clicks one entry in the list, the History opens up as shown below
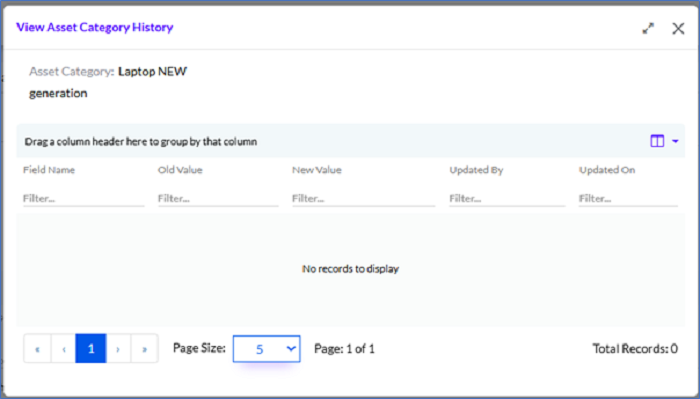
Here, the details can be viewed and the user can see history of asset. What changes has been done and what was the old value.
Editing the Asset Category
On mouseover on each row, an Edit icon appears, which allows the Admin/HR to update the Asset Category.
Once the Admin/HR clicks on the Edit icon, there appears the provision to edit the Name of the Asset Category, Description as well as the Status (Active/Inactive). Once updated, the Admin/HR needs to click on the Update Category button.