Customer Admin Config
Within the Customer Admin Config section, administrators can customize the visitor management experience for their organization. The Organization Name is auto-populated based on the logged-in user’s credentials and their associated organization mapping.
Separate Contact Preferences can be configured for hosts and visitors. By default, hosts receive notifications via SMS, and visitors receive them via WhatsApp. These defaults can be easily modified by assigning priority between WhatsApp and SMS through dropdown selections, allowing the organization to set its preferred communication method.
Additionally, administrators can define the Customer Acronym, which will be displayed in the QR code for quick identification and organizational branding. Once all configurations are finalized, clicking the Submit button saves the updated preferences.
This screen allows administrators to configure visitor management preferences for the organization. Each section and field are explained below:
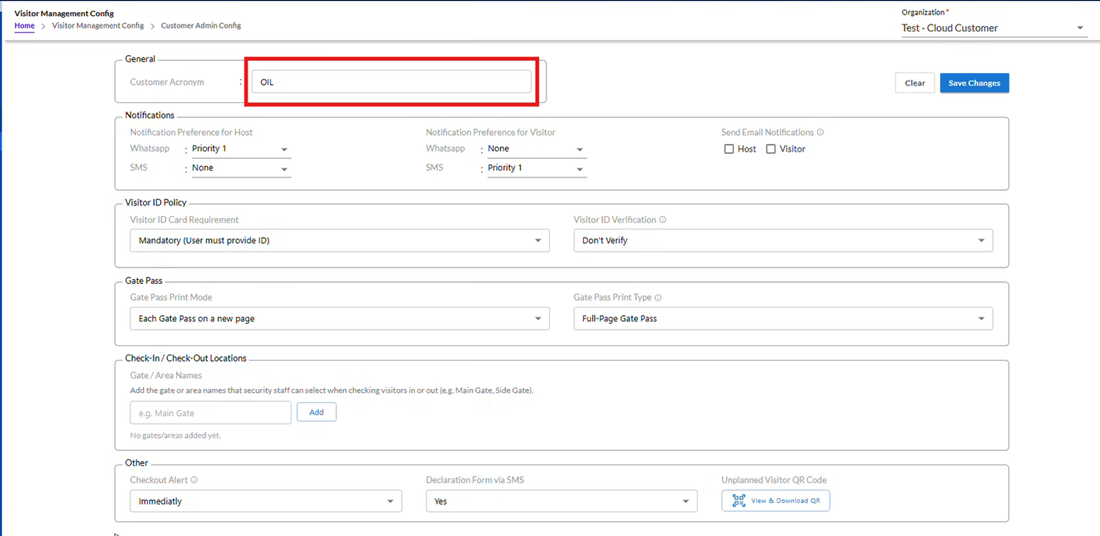
- Customer Acronym
Displays the acronym or short code for the customer organization.
This helps in identifying visitor-related documents or communications specific to this customer.
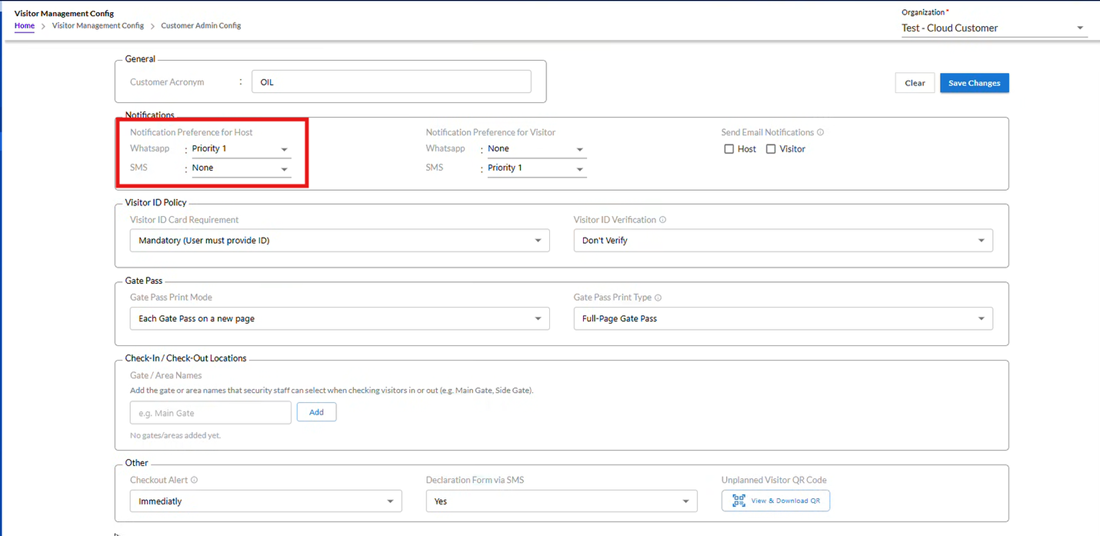
- Notification Preference for Host
WhatsApp Priority: Set the priority for sending notifications to the host via WhatsApp when a visitor checks in or out.
SMS Priority: Set the priority for sending notifications via SMS.
Example: Priority 1 indicates the first notification channel to be used.
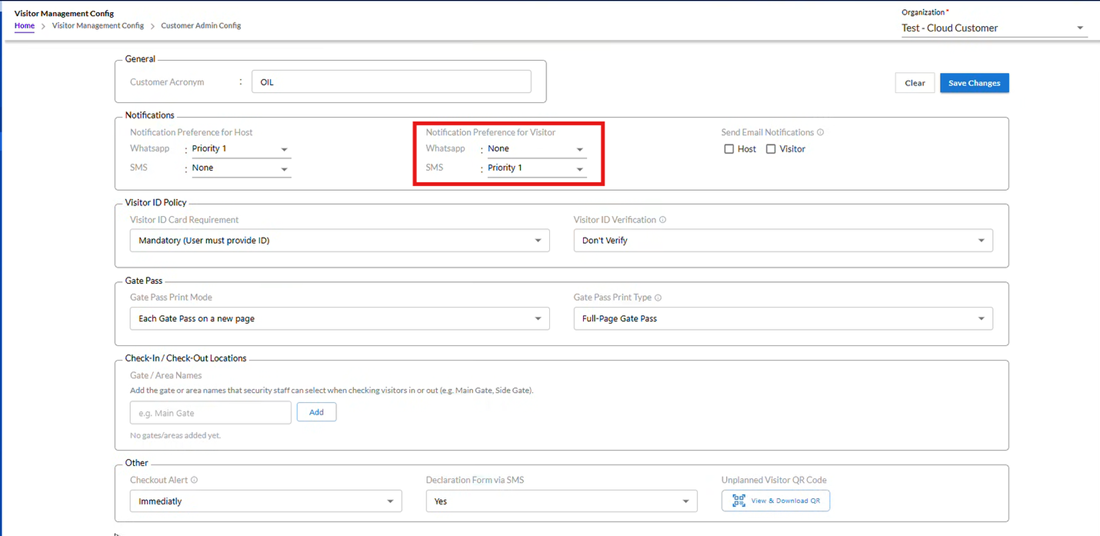
- Notification Preference for Visitor
WhatsApp Priority: Configure how the visitor receives check-in/check-out notifications via WhatsApp.
SMS Priority: Configure visitor notifications via SMS.
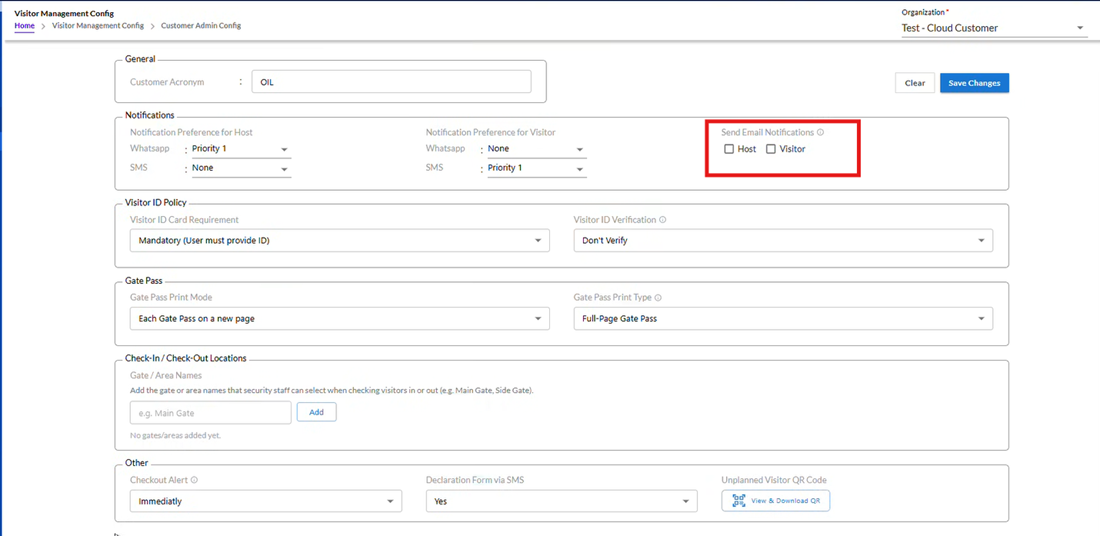
- Send Email Notifications
- Options available:
- Host
- Visitor
- Email notifications are enabled for both.
Meaning: Along with WhatsApp/SMS, emails will also be sent.
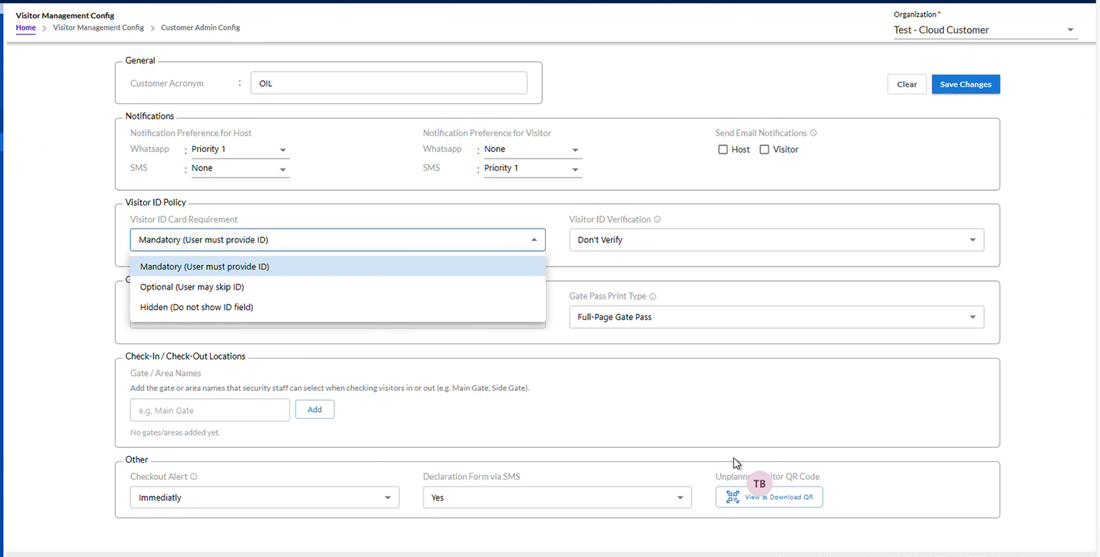
- Visitor ID Card Requirement
Select Option: Configure whether a visitor ID card is Mandatory or Optional.
Ensures visitors are properly identified when entering the premises.
Visitor ID Card Requirement can be Mandatory (User must provide ID) or Hidden (Do not show ID field) as shown below.
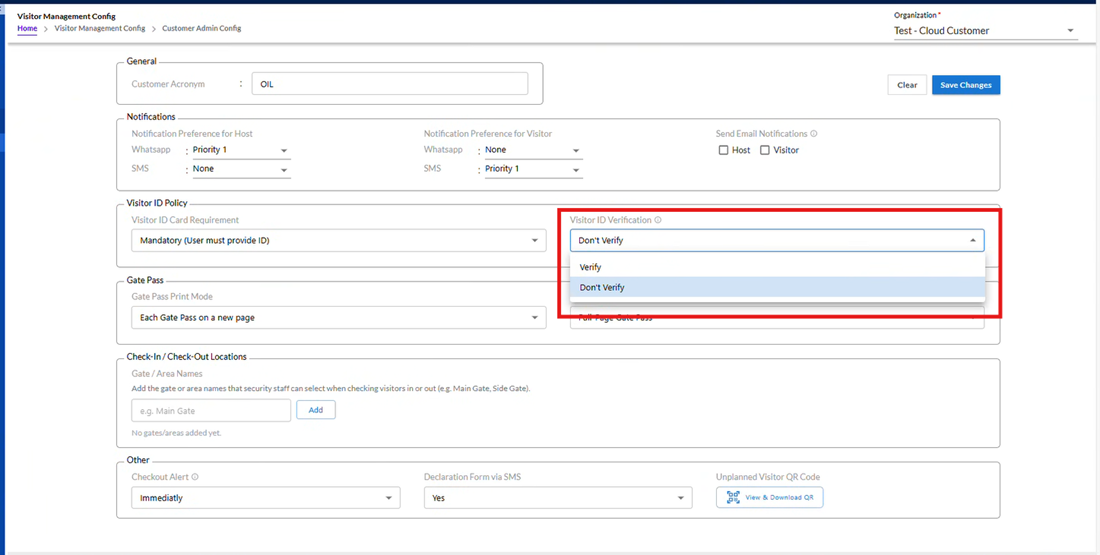
- Visitor ID Verification
Visitor ID verification is supported only for Aadhaar cards and can be performed exclusively through the HRMS mobile application. If any other ID type is provided, verification will be skipped.
- Set to: Verify ( The provided ID will be validated/verified by the system or security.)
- Set to: Don’t Verify(i.e. The provided ID will not ask for validation)
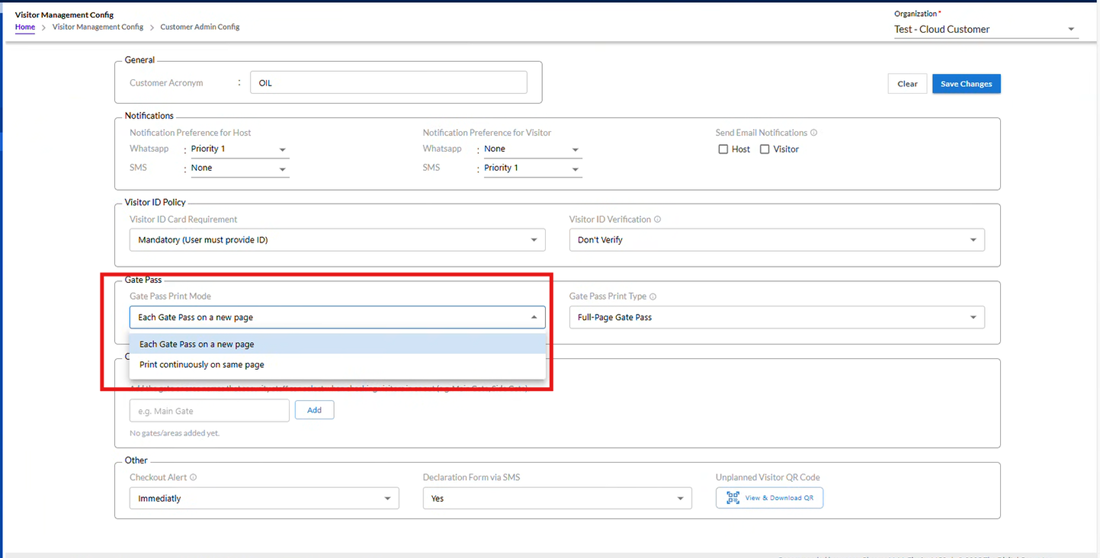
- Gate Pass Print Mode
You can choose how multiple gate passes should be printed:
- Each Gate pass on a new page
- Print continuously on same page
This helps optimize printing based on usage.
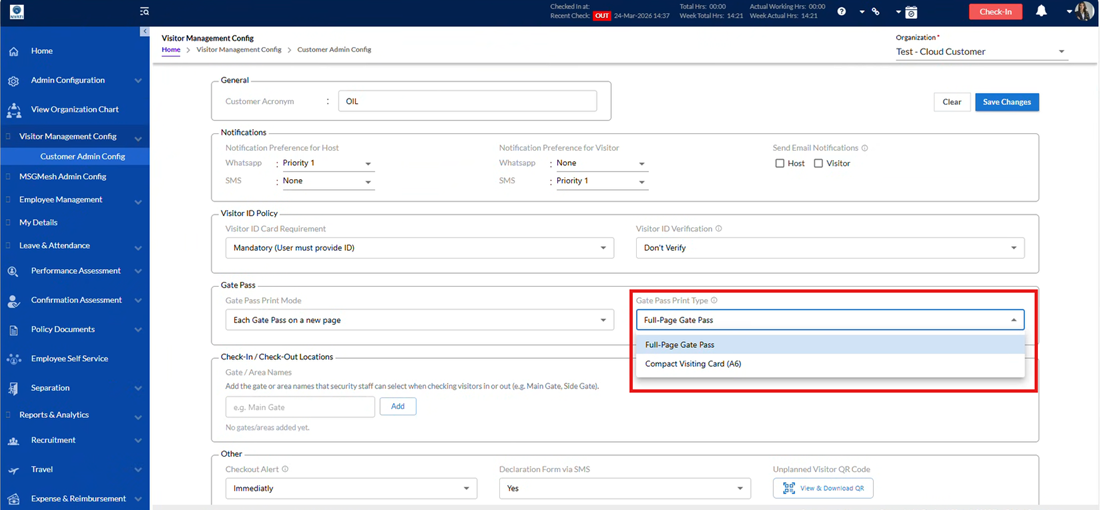
- Gate Pass Print Type
Two types of gate pass formats are available:
- Full Page (A4): A detailed format suitable for standard printing
- Compact (A6): A smaller, card-like format that is easy to carry and quick to print
Users can hover on the information icon to understand format details.
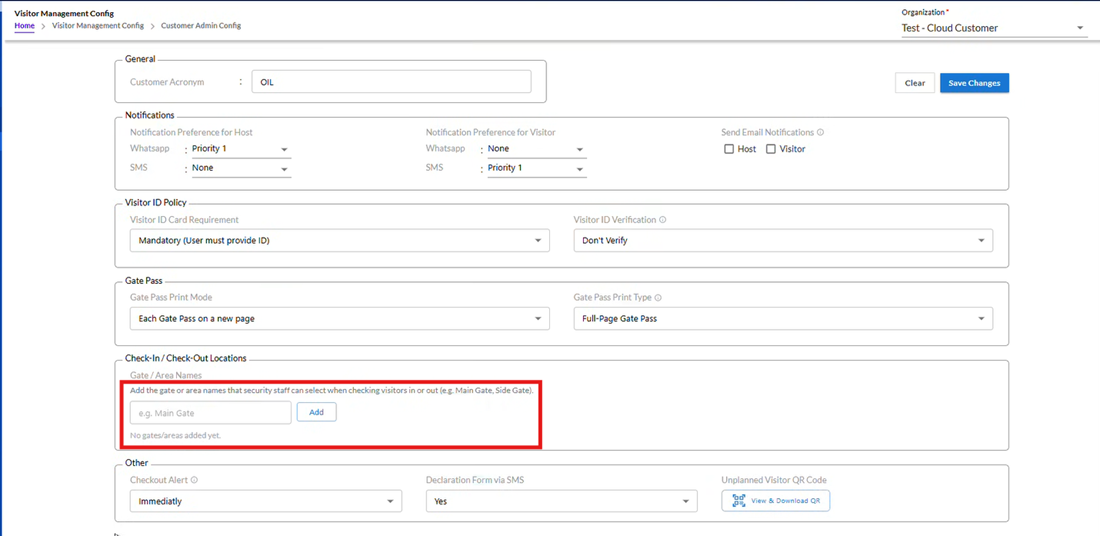
- Check-In / Check-Out Locations:
To enhance the accuracy and traceability of visitor movements, the system now allows administrators to define specific check-in and check-out locations (e.g., Main Gate, Side Gate, Reception Area). This ensures that every visitor entry and exit is recorded against a precise physical location rather than a generic checkpoint.
Feature Overview:
- A new section “Check-In / Check-Out Locations” is available under the Visitor Management Configuration.
- Administrators can configure multiple Gate / Area Names that will be used during visitor check-in and check-out.
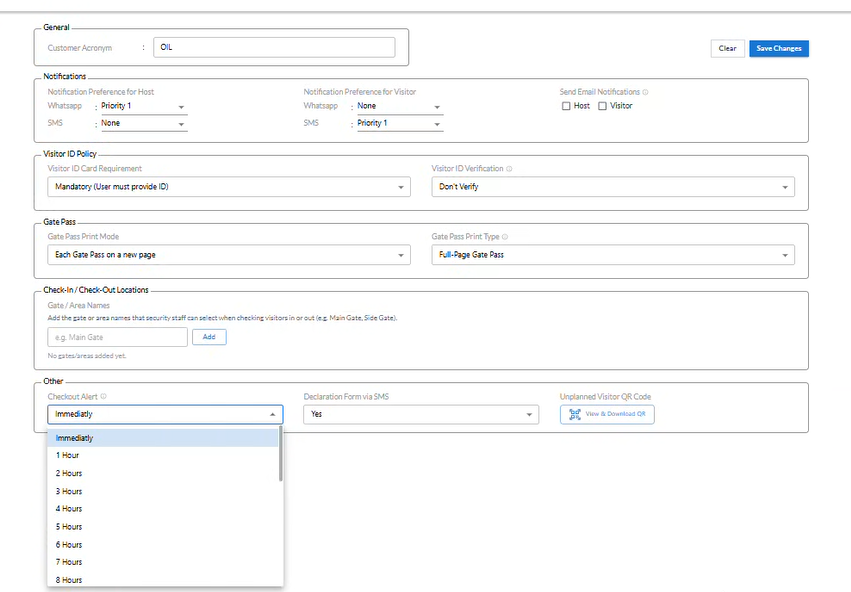
- Checkout Alert
Select Duration: Choose the time duration after which the system sends an alert for visitor checkout.
Options range from “None” to “7 Hours.”
The Checked-out Alert can be set for various option like- none, 1 hour, 2 hours, 3 hours, 4 hours, 5 hours, 6 hours or 7 hours as shown below.
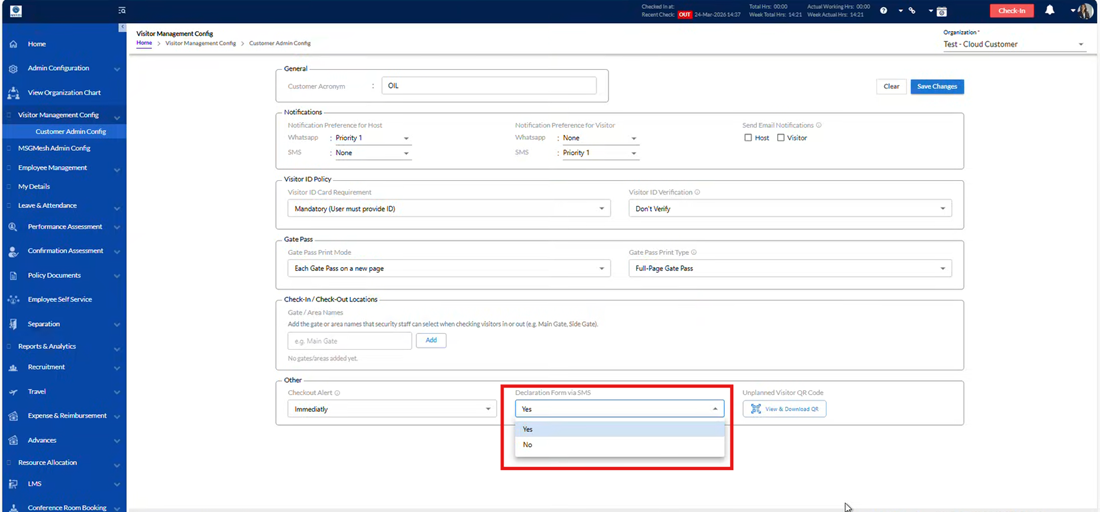
- Declaration Form Via SMS
Option to enable or disable sending visitor declaration forms automatically.
Send Declaration Form Link Through SMS has two options- Yes or No as shown below.
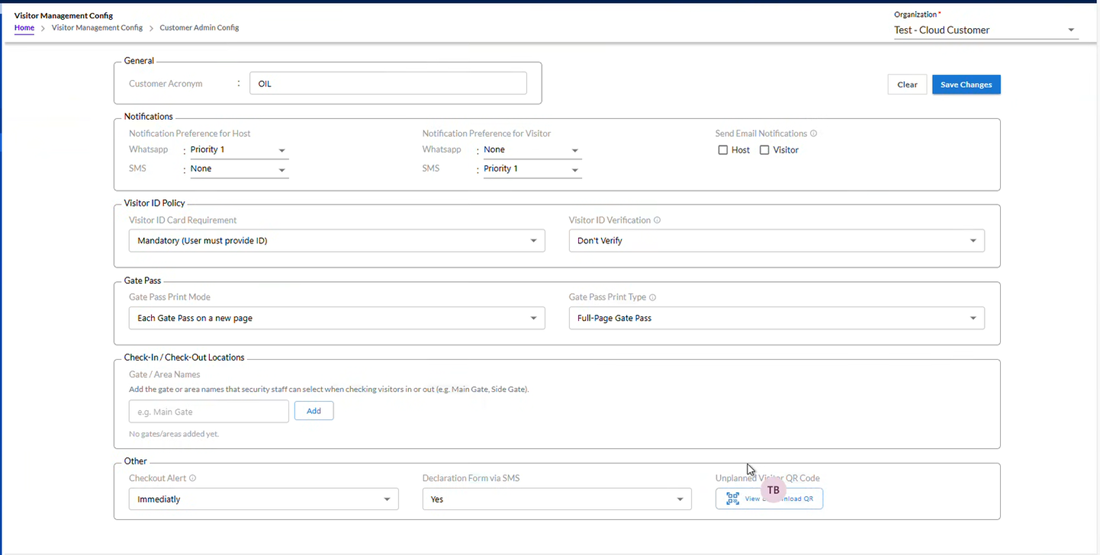
- Unplanned Visitor QR Code
When a visitor scans the QR code displayed at the reception or entry gate, they are redirected to the Public Visitor Gate Pass Form on their mobile browser. The form opens automatically without requiring manual navigation. The visitor enters details like Name, Contact Number, Company, Host to Meet, and Purpose of Visit. After filling in, they submit the form. A confirmation screen and (optional) WhatsApp/SMS confirmation are shown, and the entry request goes to the host/security system.
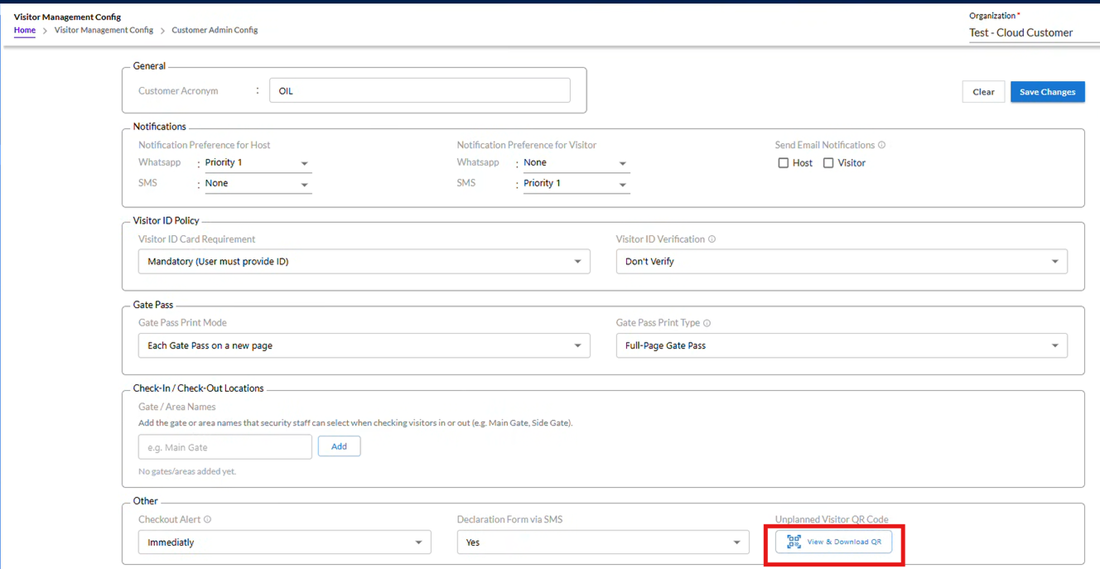
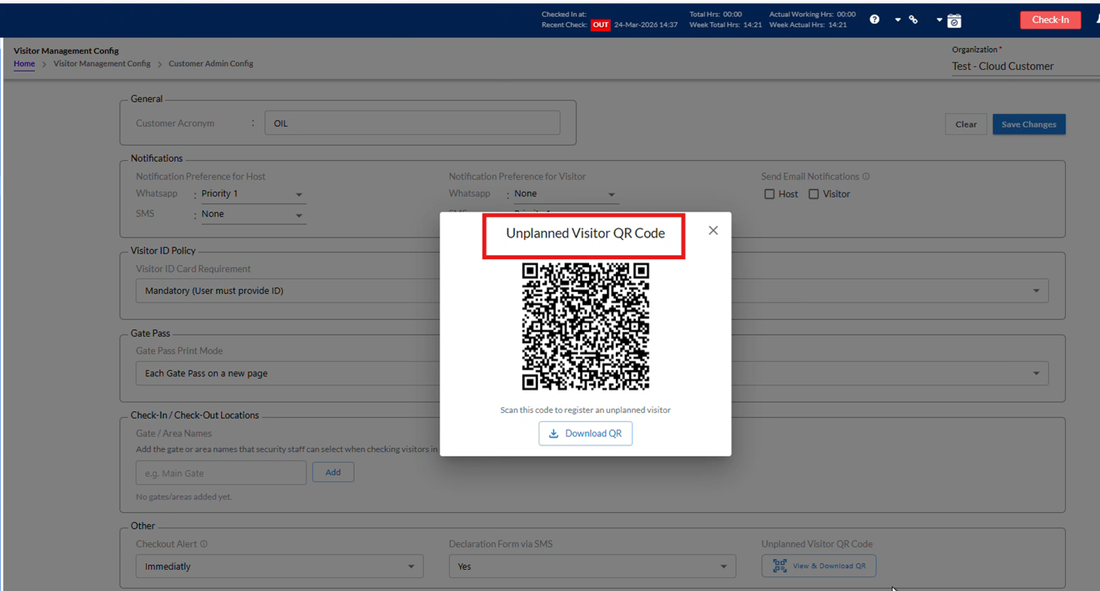
To view and take print out of the Unplanned Visitor QR Code, click the above highlighted button. It will be displayed as below.
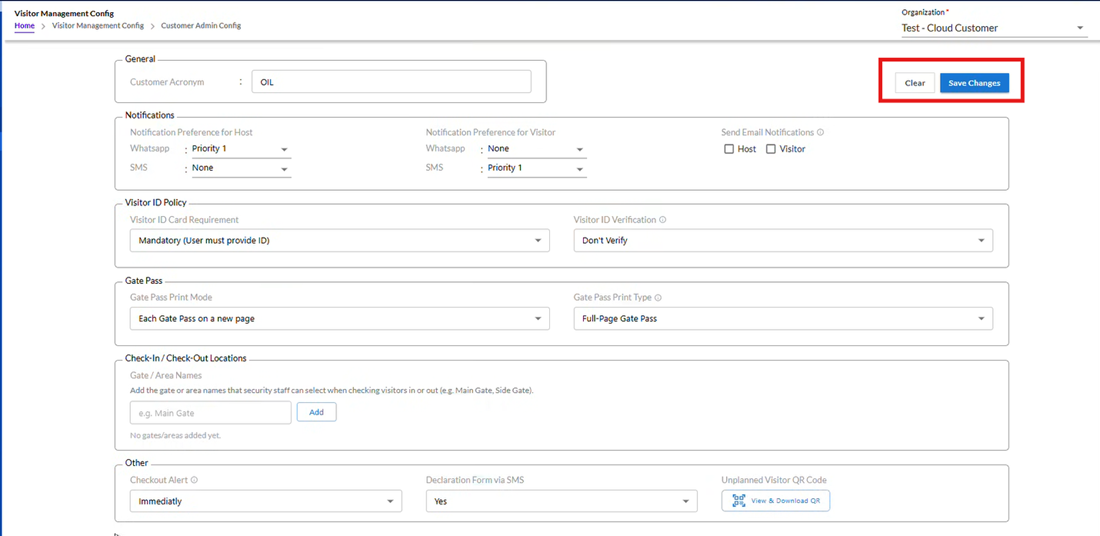
- Action Buttons
Clear: Resets all fields on the screen to default values.
Save Changes: Saves the configurations set on this screen.
To save the Customer Admin Cofig, click ‘Save Changes’ button to save the changes.