Recruitment - Work Flow Management
The Workflows of the Recruitments can be set here.
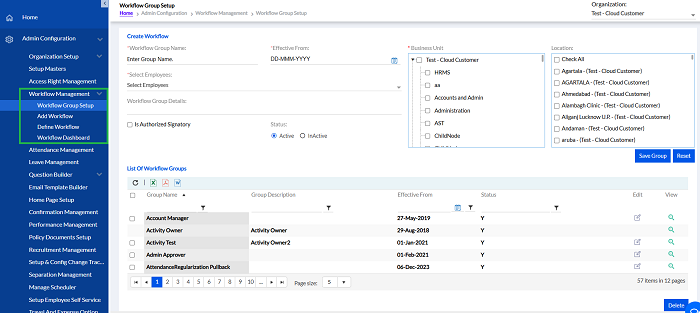
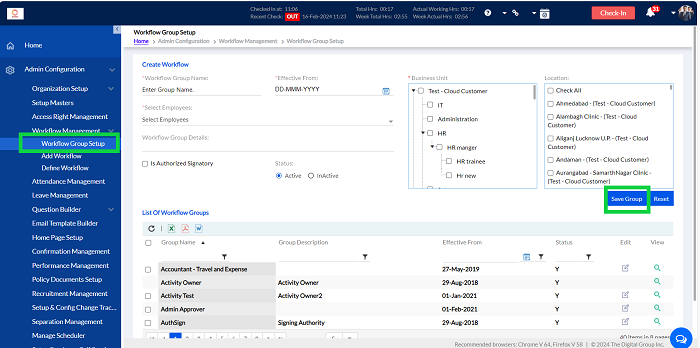
Workflow Group Setup
Workflow Group Name- enter group name, Effective from- enter dates, Business Unit, Location(optional), Select Employees- from drop down, select Is Authorized Signatory (optional) if needed, Select Status Active/InActive and click Save Group to add Workflow Setup. The previously added Workflow Groups are shown below in the list. There are different export buttons to export the data to PDF, DOC and Excel, respectively.
Add Workflow
The workflow can be added here for the selected modules like the Recruitment module here.
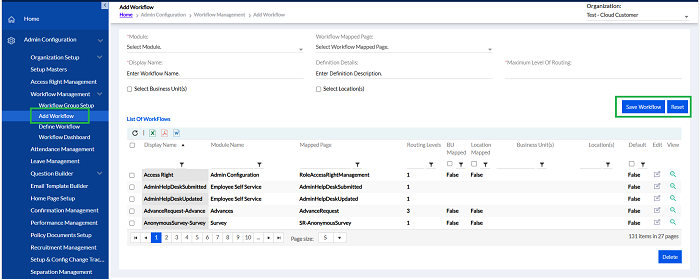
Workflow Mapped Page: Select Workflow Mapped Page; Display Name: Enter Workflow Name; Definition Details: Enter Definition Description; Maximum Level Of Routing: Select Business Unit(s) and Select Location(s) and Save Workflow to add the Workflow.
The previously added Workflows will be displayed in the “List Of Workflows”. The admin can edit any of by selecting it and clicking the Edit button.
The List can be exported by clicking the “ ” , “
” , “ ” or “
 ” into Excel, PDF, or Word format respectively.
” , “” or “” into Excel, PDF, or Word format respectively.Define Workflow
The workflow can be defined here.
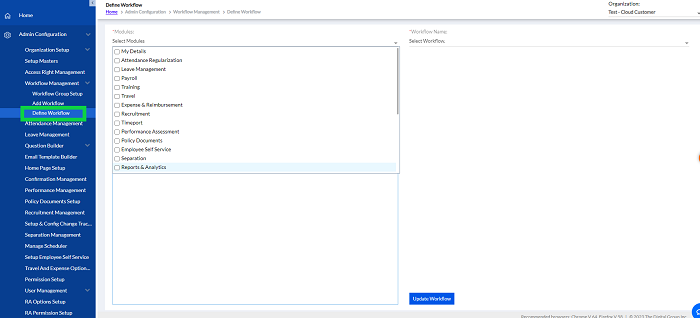
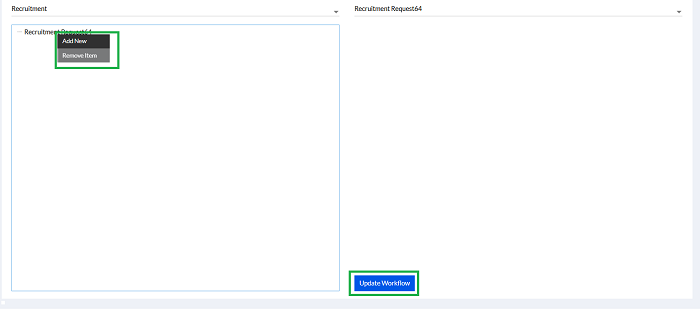
Select Recruitment module. Enter the Workflow Name, from drop down to define it.
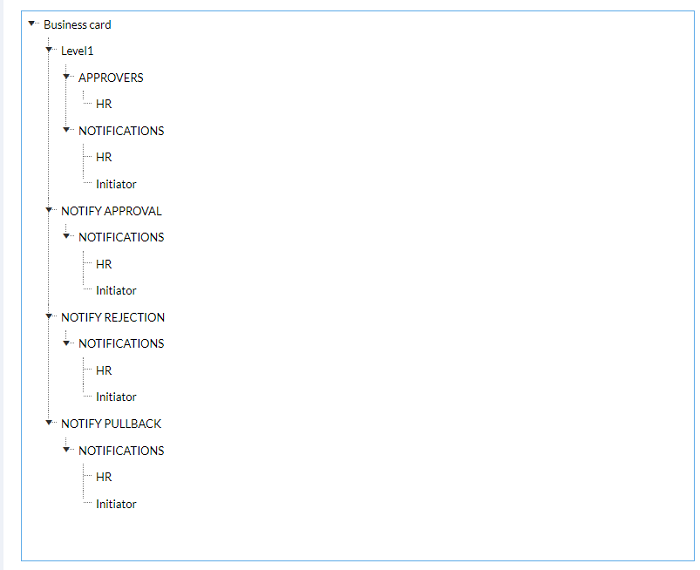
If workflow is defined then only structure will appear as given one after below screenshot. If not defined then right click on workflow name to add/define workflow by adding groups. The following screen will be displayed.
Below is the defined workflow screenshot.
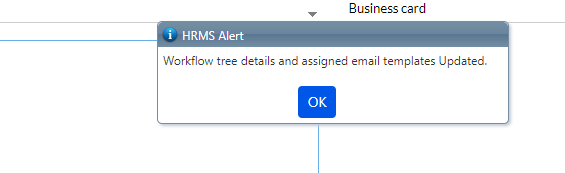
Click on Update or Submit button to save Workflow. The pop up confirmation message will be displayed.